Please navigate through our course layout by clicking the links below:
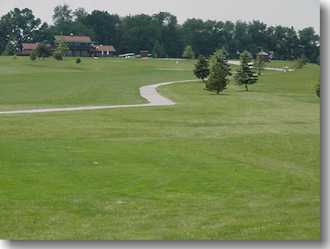
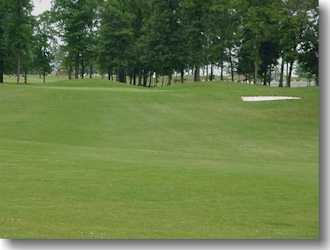
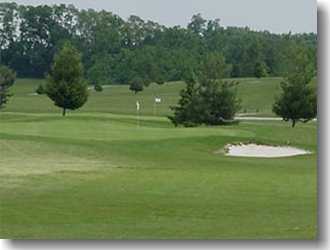
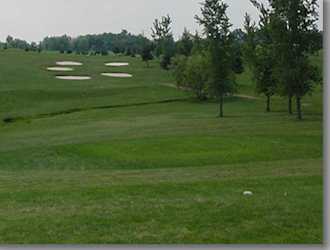
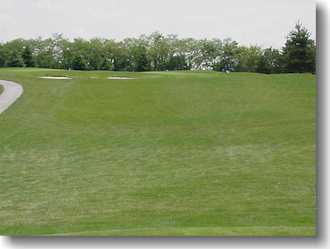
Hole 1

Par 5
Blue: 508
White: 482
Red: 424
This 508 yard, Par 5 is a pleasant and generous starting hole. A double dogleg; 3 shot hole is guarded by 2 bunkers down the left side. This hole is reachable in two for the longest hitters. Should you carry the bunkers in front of the elevated green, you are looking at a two putt birdie on a level putting surface.
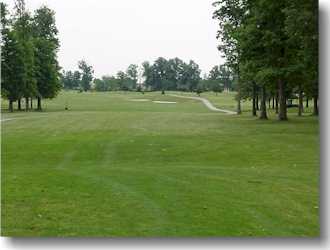
Hole 2

Par 4
Blue: 423
White: 394
Red: 354
A 400+ yard, Par 4 requires a long straight tee shot with tall trees coming into play on the right side of the fairway. This hole is wide open in the landing area, but try to favor the right side. The approach shot to this well guarded elevated green is key to scoring. Par is a very good score here.
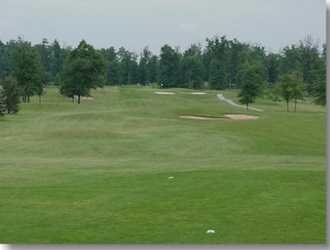
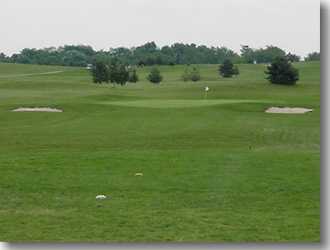
Hole 3

Par 3
Blue: 220
White: 185
Red: 123
A nice, slightly uphill Par 3 with a large level green, makes for a good target. A greenside front left bunker comes into play and is also protected by a back bunker. From the middle and front tees it’s a straight shot to the green. Out of bounds is to the far right, but not really a factor. Add whatever text you want.
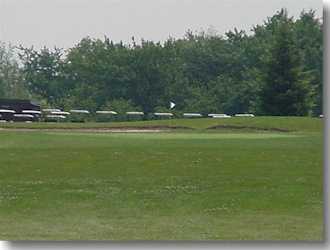
Hole 4

Par 4
Blue: 450
White: 408
Red: 368
This is the #1 handicap hole and the second of the long Par 4’s. Wind can be a major factor when teeing the ball, because ponds are located on both sides of the fairway. A long straight tee shot from the right side of the tee box is required. This green is wide, but not a deep target. The front of the green is open, with a large bunker front right and two large moguls just off the back fringe.
Hole 5

Par 4
Blue: 354
White: 332
Red: 290
This is the #1 handicap hole and the second of the long Par 4’s. Wind can be a major factor when teeing the ball, because ponds are located on both sides of the fairway. A long straight tee shot from the right side of the tee box is required. This green is wide, but not a deep target. The front of the green is open, with a large bunker front right and two large moguls just off the back fringe.
Hole 6

Par 3
Blue: 163
White: 145
Red: 109
A short Par 3 from a raised tee is asking for an accurate iron shot. This down hill kidney shaped green is surrounded by sand.
Hole 7

Par 5
Blue: 532
White: 506
Red: 470
This Par 5 is the longest on the course. The fairway is wide open and slopes toward the pond. Grip It and Rip It! The decision comes on your second shot. Lay up or carry the water. The very longest off the tee will begin to think, on in two. Think carefully. The green is protected by tall trees on the right and two bunkers right and left. The green also has a raised back tier.

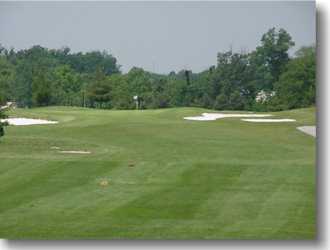
Hole 8

Par 4
Blue: 455
White: 435
Red: 369
The longest Par 4 on the course requires accurate distance. This fairway doglegs left over a knoll with a large bunker on the left. A landing area to the right with moguls and out of bounds far right. You may need and extra shot to get on this large green with two sand and one grass bunker.

Hole 9

Par 4
Blue: 436
White: 402
Red: 348
This rolling fairway is wide and needs a long tee shot to catch the down hill roll. You need to tee up on the right side and aim left, away from trouble. Number 9 is an open uphill green with two bunkers front left and one behind.
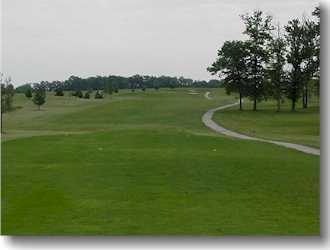
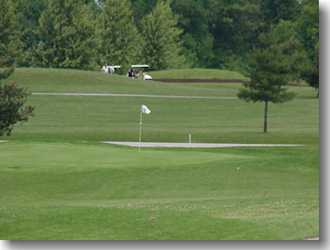
Hole 10

Par 4
Blue: 358
White: 344
Red: 297
From the tenth tee you have a good view of the back nine. Pick your target, because this is now “ Target Golf!” Place your tee shot between the fairway bunkers or just hit over the two bunkers on the left. Be sure to check the wind! The 10th green has some break and grain to it; hit it close.
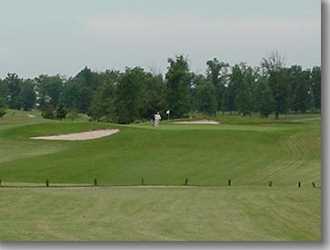
Hole 11

Par 3
Blue: 187
White: 153
Red: 103
This elevated tee allows you to see the full green and both bunkers. Aim for the center of the green. The green is narrow on the left side. Hitting too much club will take you over the back of this green.
Hole 12

Par 4
Blue: 340
White: 315
Red: 274
This is the shortest Par 4 on the course, but not short on trouble. You can lay up and wedge it to the flag or you can go for it. There is out of bounds to the left.
Hole 14

Par 4
Blue: 392
White: 369
Red: 220
All but the ladies must carry the pond on their tee shot. Tee off over a pond to a fairway on the left, with a narrow landing area. Left of the fairway is a lateral water hazard. Driver is questionable. The approach is to an elevated two tier green with a hidden bunker on the right.

Hole 15

Par 5
Blue: 510
White: 488
Red: 422
This Par 5 is a 3 shot hole for most. The double, dogleg takes you up the hill to a sloping green with three bunkers. Just play to the center of the green, but stay below the hole for your birdie putt.
Hole 16

Par 4
Blue: 388
White: 358
Red: 319
A clear view of safety and hazards. Take safety. A challenging tee shot. Any shot to the right will cost a stroke. Playing from an uneven fairway, your approach will be to a raised green. A deep bunker is on the right side with a small one behind the green. Not an easy hole, but a rewarding par can be had. This hole requires good shots – tee to green.
Hole 17

Par 3
Blue: 181
White: 155
Red: 117
The last of the Par 3’s, is uphill to a wide but shallow green. More club is needed then it looks. Check the wind. This hole puts a premium on distance off the tee. Short and you are in the bunker, and long leaves a tricky downhill chip. A tee shot with a lot of loft and right distance will be rewarded with a good score.
Hole 18

Par 4
Blue: 419
White: 398
Red: 357
You are almost home. This 400+ yards, slightly uphill fairway is a strong finishing hole. Wind is a factor once again. A long tee shot is needed to set up this hole. This fairway has a slight dogleg to the right and is guarded by a fairway bunker left. Best approach to this two level green is left, center of the fairway. The front of the green is raised, but open with large bunkers on both sides of the green. Watch for any breaks on your putts.